Root pruning a fig tree…
Root pruning is one of the most important practices for maintaining your fig tree’s health. This technique prevents roots from becoming pot-bound, giving the tree space to spread and absorb nutrients more effectively. Proper root pruning also stimulates fresh root growth, which supports a stronger, more vigorous plant. By managing the root system, growers can encourage healthier foliage and improved fruit production.
Perform root pruning in late winter or early spring while the tree is still dormant and before buds begin to swell. Timing, cleanliness of tools, and avoiding over-pruning are key to a successful root-pruning session.
The process of root pruning can be simplified into three basic steps. First, prepare a balanced potting mix rich in organic matter but able to allow draining of excess water. Second, decide whether you would prefer to move the tree to a new container or re-use the existing one. Last, it’s all about trimming the old root system and freeing the tree.
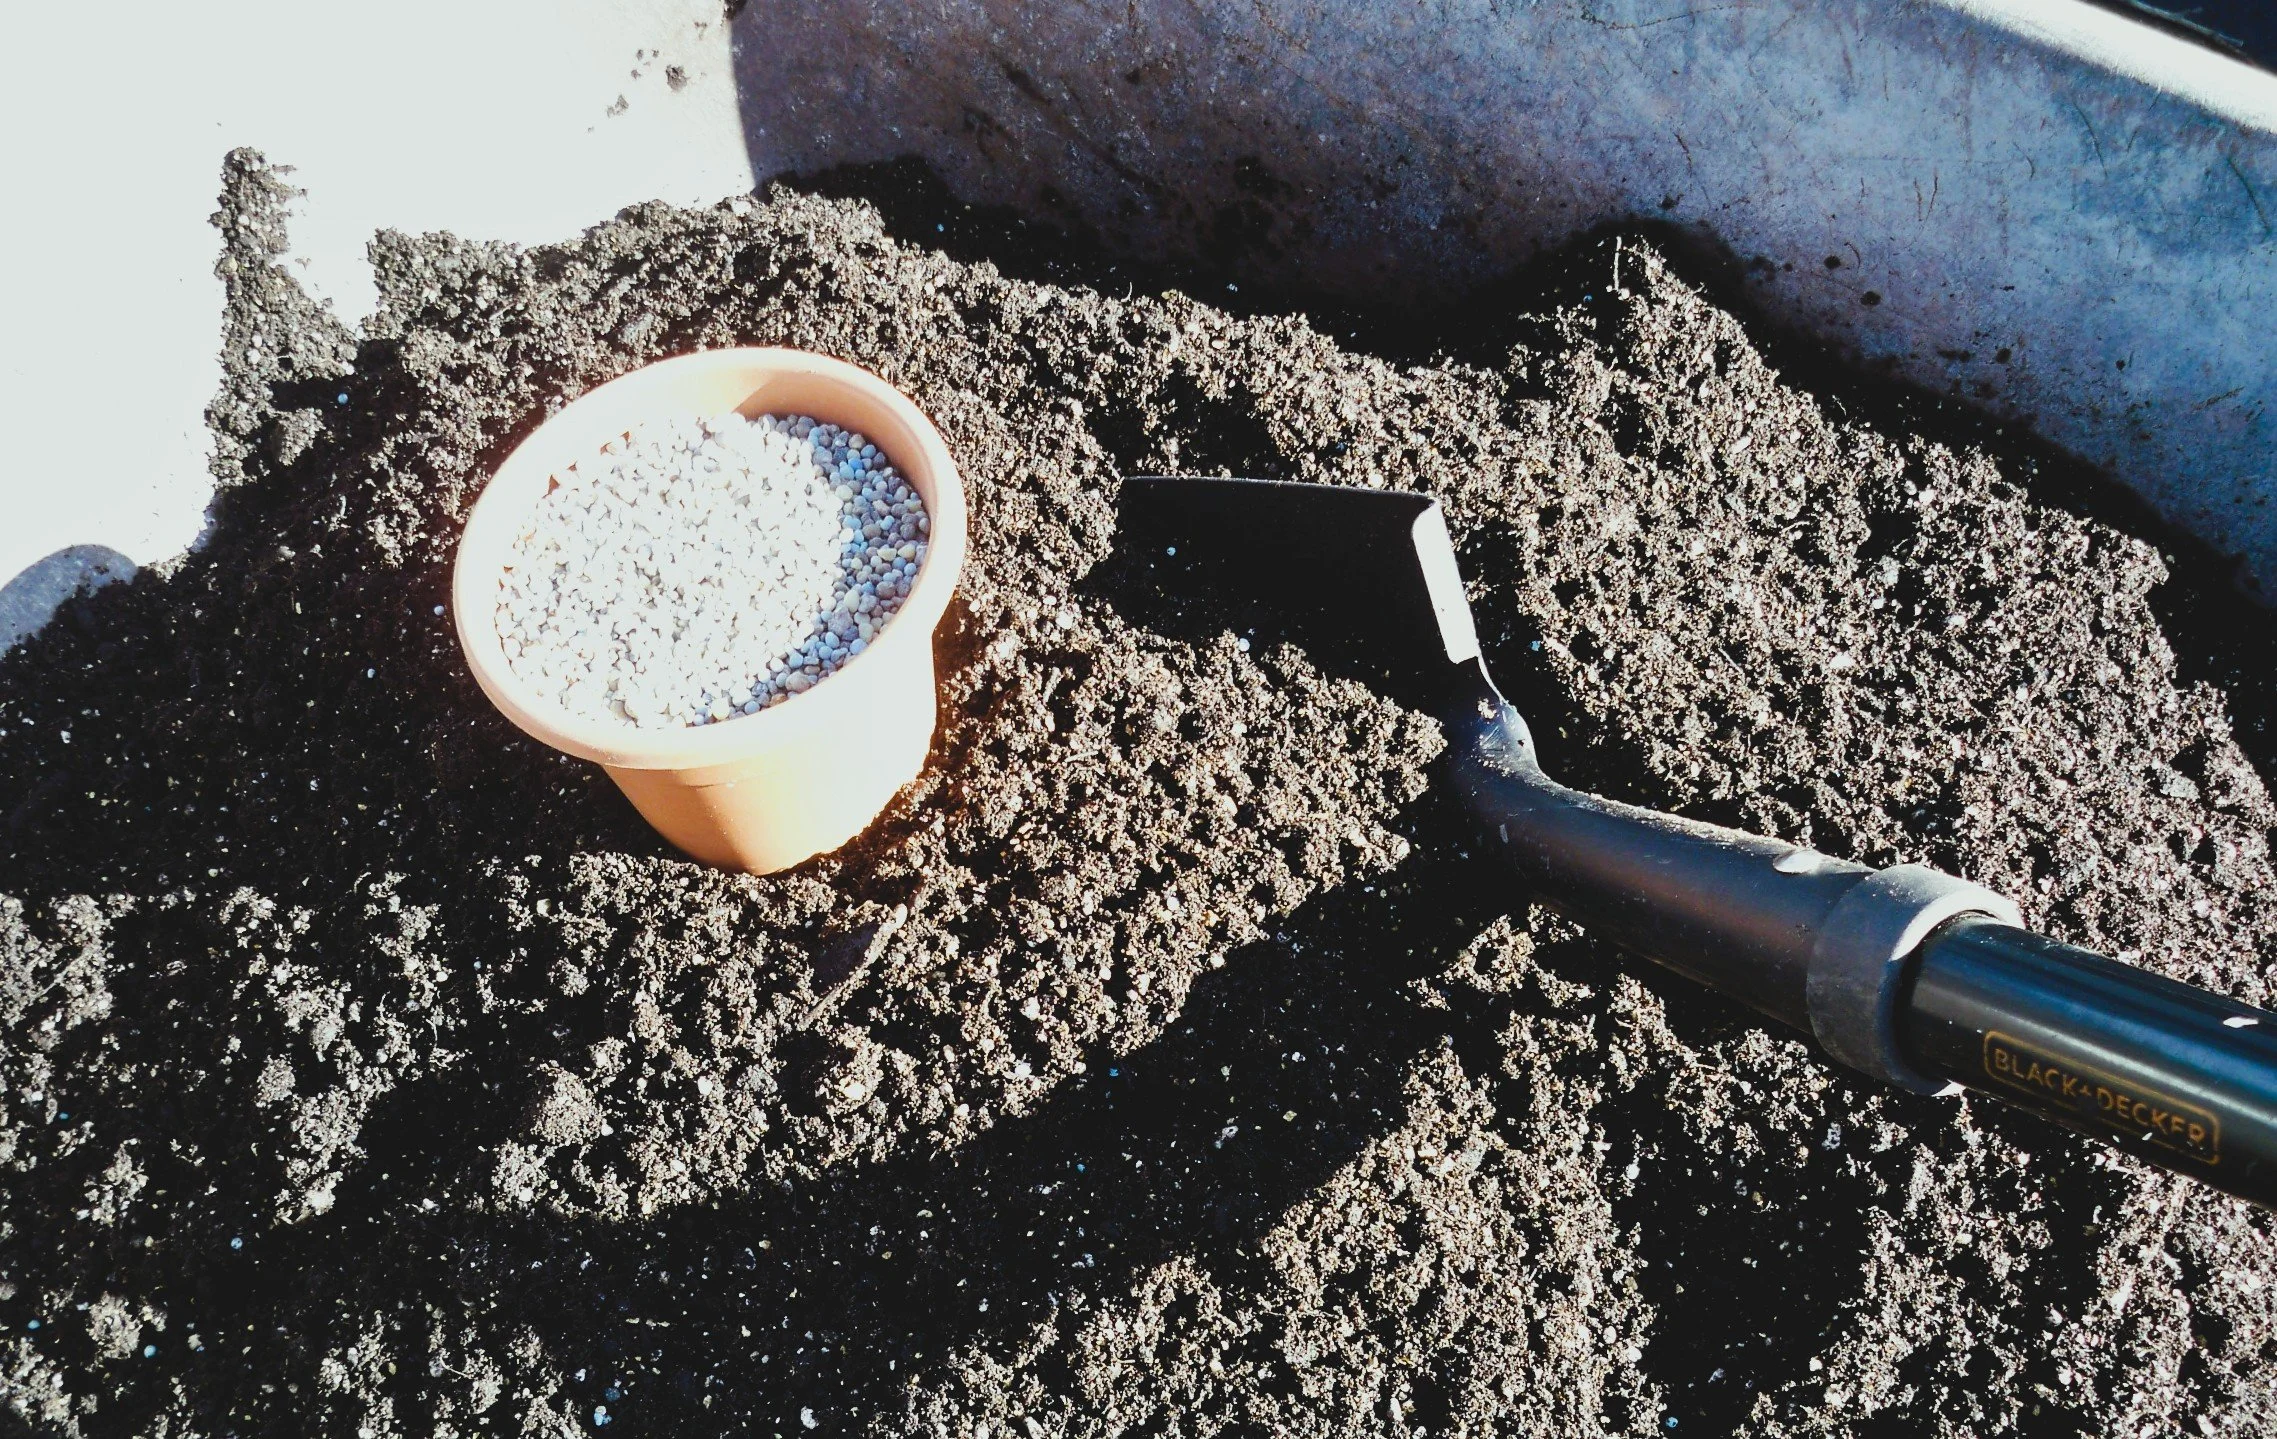
STEP 1- Prepare the Potting Mix: Fig trees thrive on moist but well-draining soil. Typical off‑the‑shelf potting mixes can be used; however, these are often costly, and their content is not always ideal. You can make an effective, inexpensive potting mix at home that gives figs the balance of moisture retention, aeration, and nutrients they need.
Suggested recipe
60% rehydrated peat moss (or coir as a sustainable alternative)
25% good-quality topsoil (sifted to remove large debris)
15% perlite
Why this combination works
Peat moss or coir: Holds moisture evenly without becoming waterlogged, helping roots access water between waterings. Coir is a renewable substitute that also improves structure.
Perlite: Improves drainage and aeration so roots get oxygen and the mix dries out between waterings, reducing root rot risk.
Topsoil: Supplies organic matter and micronutrients and gives the mix some weight and body so potted trees aren’t too light.
Mixing and preparation
Rehydrate the peat moss or coir before mixing if it’s dry—soak and squeeze until evenly moist. Fluffed peat/coir mixes more uniformly with other components.
Sift your topsoil to remove stones, large roots, or compacted clumps. Avoid heavy clay soils.
Combine components thoroughly so the perlite and topsoil are evenly distributed through the peat/coir.
Add water gradually and mix until the whole blend is uniformly moist but not saturated. Mixture should hold together loosely if squeezed, then fall apart. Avoid puddling or excess sogginess.
Adjustments and tips
Fertility: Homemade mixes with topsoil will supply some nutrients but consider a balanced slow‑release fertilizer or periodic liquid feeding during the growing season because peat and perlite are low in NPK.
Drainage needs: If your fig is in a large container or you live in a cool, wet climate, increase perlite to 20–25% for faster drainage.
Aeration alternatives: Replace part of the perlite with pumice or coarse sand if you prefer.
pH: Figs prefer slightly acidic to neutral soil (about pH 6.0–7.0). Most topsoils and peat/coir fall into an acceptable range; test and amend if necessary.
Long‑term maintenance: Over time organic material will break down, and the mix will compact. Repot or refresh the top few inches every 1–3 years depending on plant size and container life.
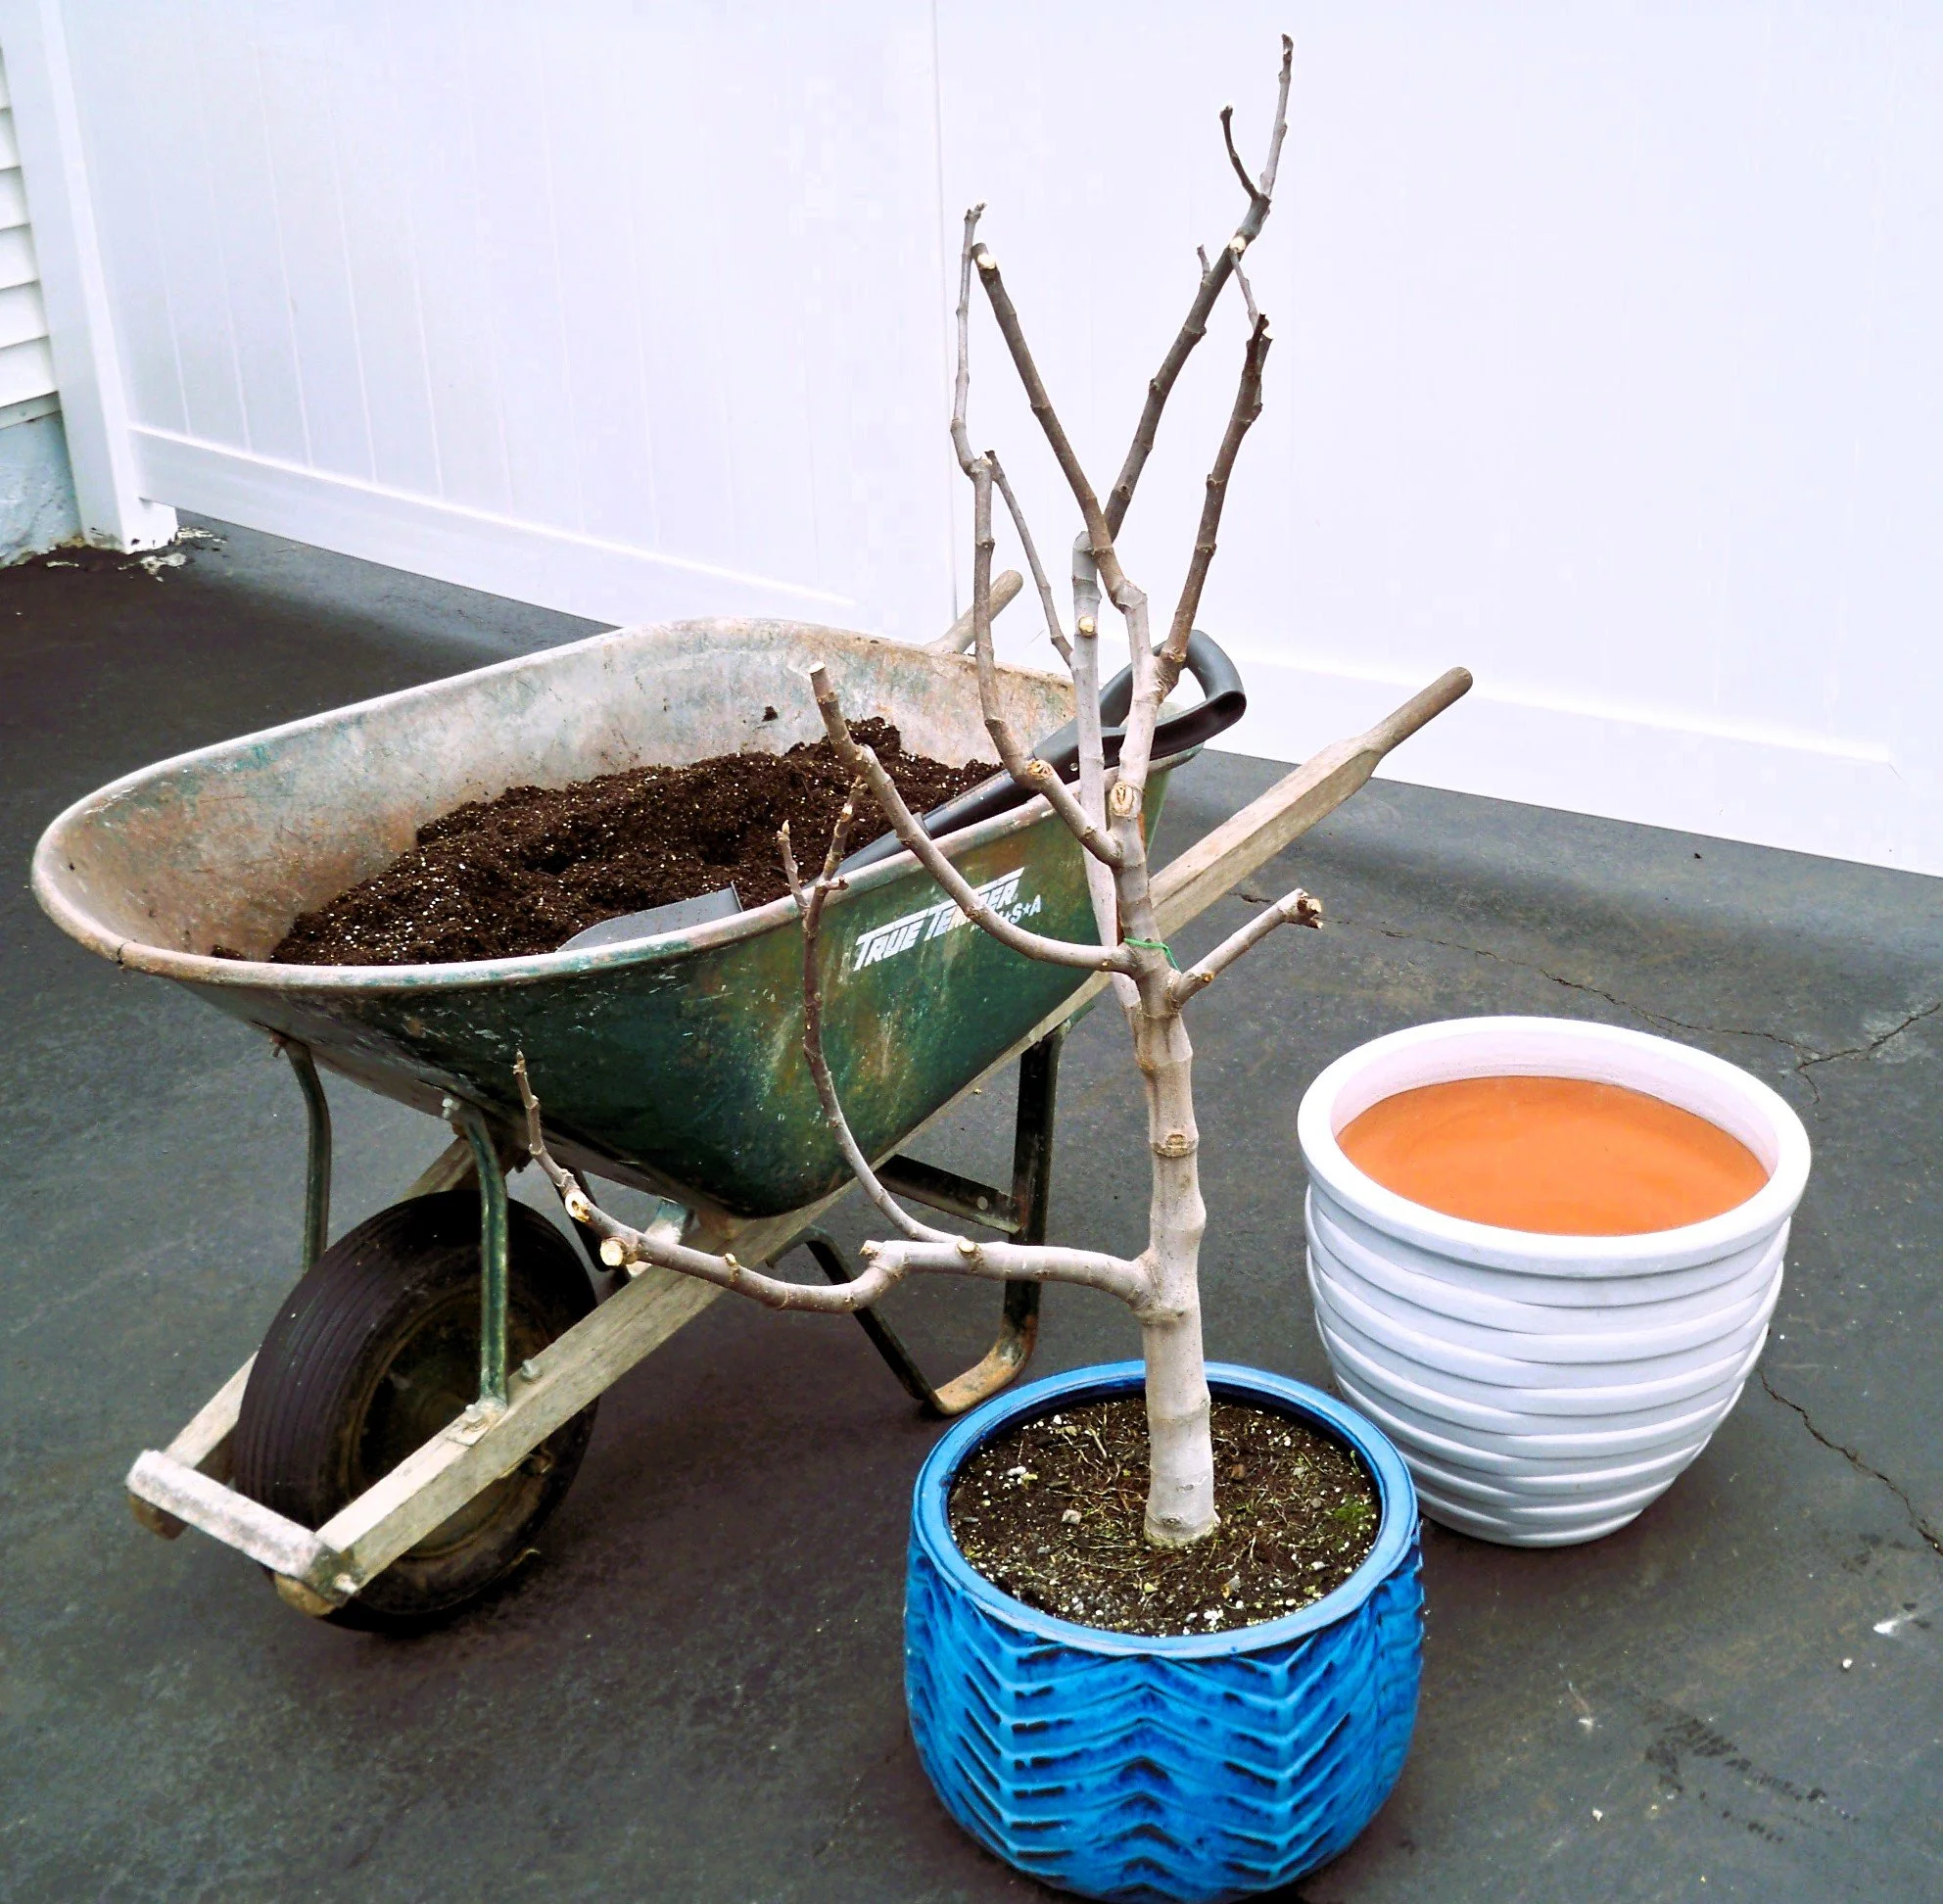
STEP 2- Select the Container: The size of the fig tree container should be aligned to your main objectives as a gardener. If your mission is to keep the tree size manageable and be able to bring it into your house or sunroom during winter, a medium size container will work well (between 5-15 Gal). However, if you have ample space in a garage, green-house, or other sort of storage space, a large container enables your tree to get larger and produce additional fruiting branches (20-45 Gal). Such large containers might require a hand truck and up to two people for moving the mature tree.
Some varieties have dwarf traits, and the size of the container will do little to promote growth. Other varieties are vigorous growers and are highly productive when placed on large containers. Our advice is to slowly increase the size of the container and become knowledgeable of the particular growth habit of your tree and your own circumstances for winter storage or overall tree care.
Choosing the best container material include factors such as weight, durability, root care, temperature regulation and overall appearance. Below is a comparison of the three common options: plastic, terracotta, and ceramic/glazed pottery.
Plastic
Pros:
Lightest and most affordable option.
Easy to move and ideal for gardeners who frequently relocate pots.
Trees can be removed easily for root pruning.
DIY self-watering systems (for example, repurposed 5-gallon buckets).
Cons:
Less durable long-term; sunlight and heat can degrade plastic.
Typically less decorative than other materials.
Typical price range: $10–$35 at discount hardware stores.
Terracotta
Pros:
Attractive, available in many styles (rustic, Spanish glazed, Italian glazed).
Adds aesthetic value when paired with a fig tree.
Breathable material helps regulate soil moisture and root temperature.
Relatively easy to remove for root pruning.
Good resistance to sunlight and heat.
Cons:
More expensive than basic plastic.
Can crack in freezing conditions or if handled roughly.
Glazed and unglazed varieties have different care needs.
Best for gardeners who want a balance of beauty and function but will protect pots in winter.
Ceramic / Glazed Pottery
Pros:
Heaviest and often the most decorative, offering a rustic, earthy look.
Porous material helps regulate soil moisture and root temperature.
Large sizes available for substantial root volume.
Cons:
Most costly option.
Heavy and difficult to move.
Roots may penetrate porous walls, making tree removal and root pruning difficult.
Susceptible to cracking in freezing weather if not winterized.
How to choose
If you need mobility and low cost: choose plastic.
If you want beauty plus good moisture/temperature regulation: choose terracotta (take precautions in winter).
If appearance and size are the priority and you have means to relocate the tree: choose ceramic/glazed pottery.
Practical tips
Only use containers with drainage holes.
Use saucers or stands to protect surfaces and improve drainage.
Line or elevate heavy pots to prevent waterlogging.
When planning root pruning, consider ease of removing the tree—avoid deeply porous or permanently seated containers if you’ll need frequent root work.
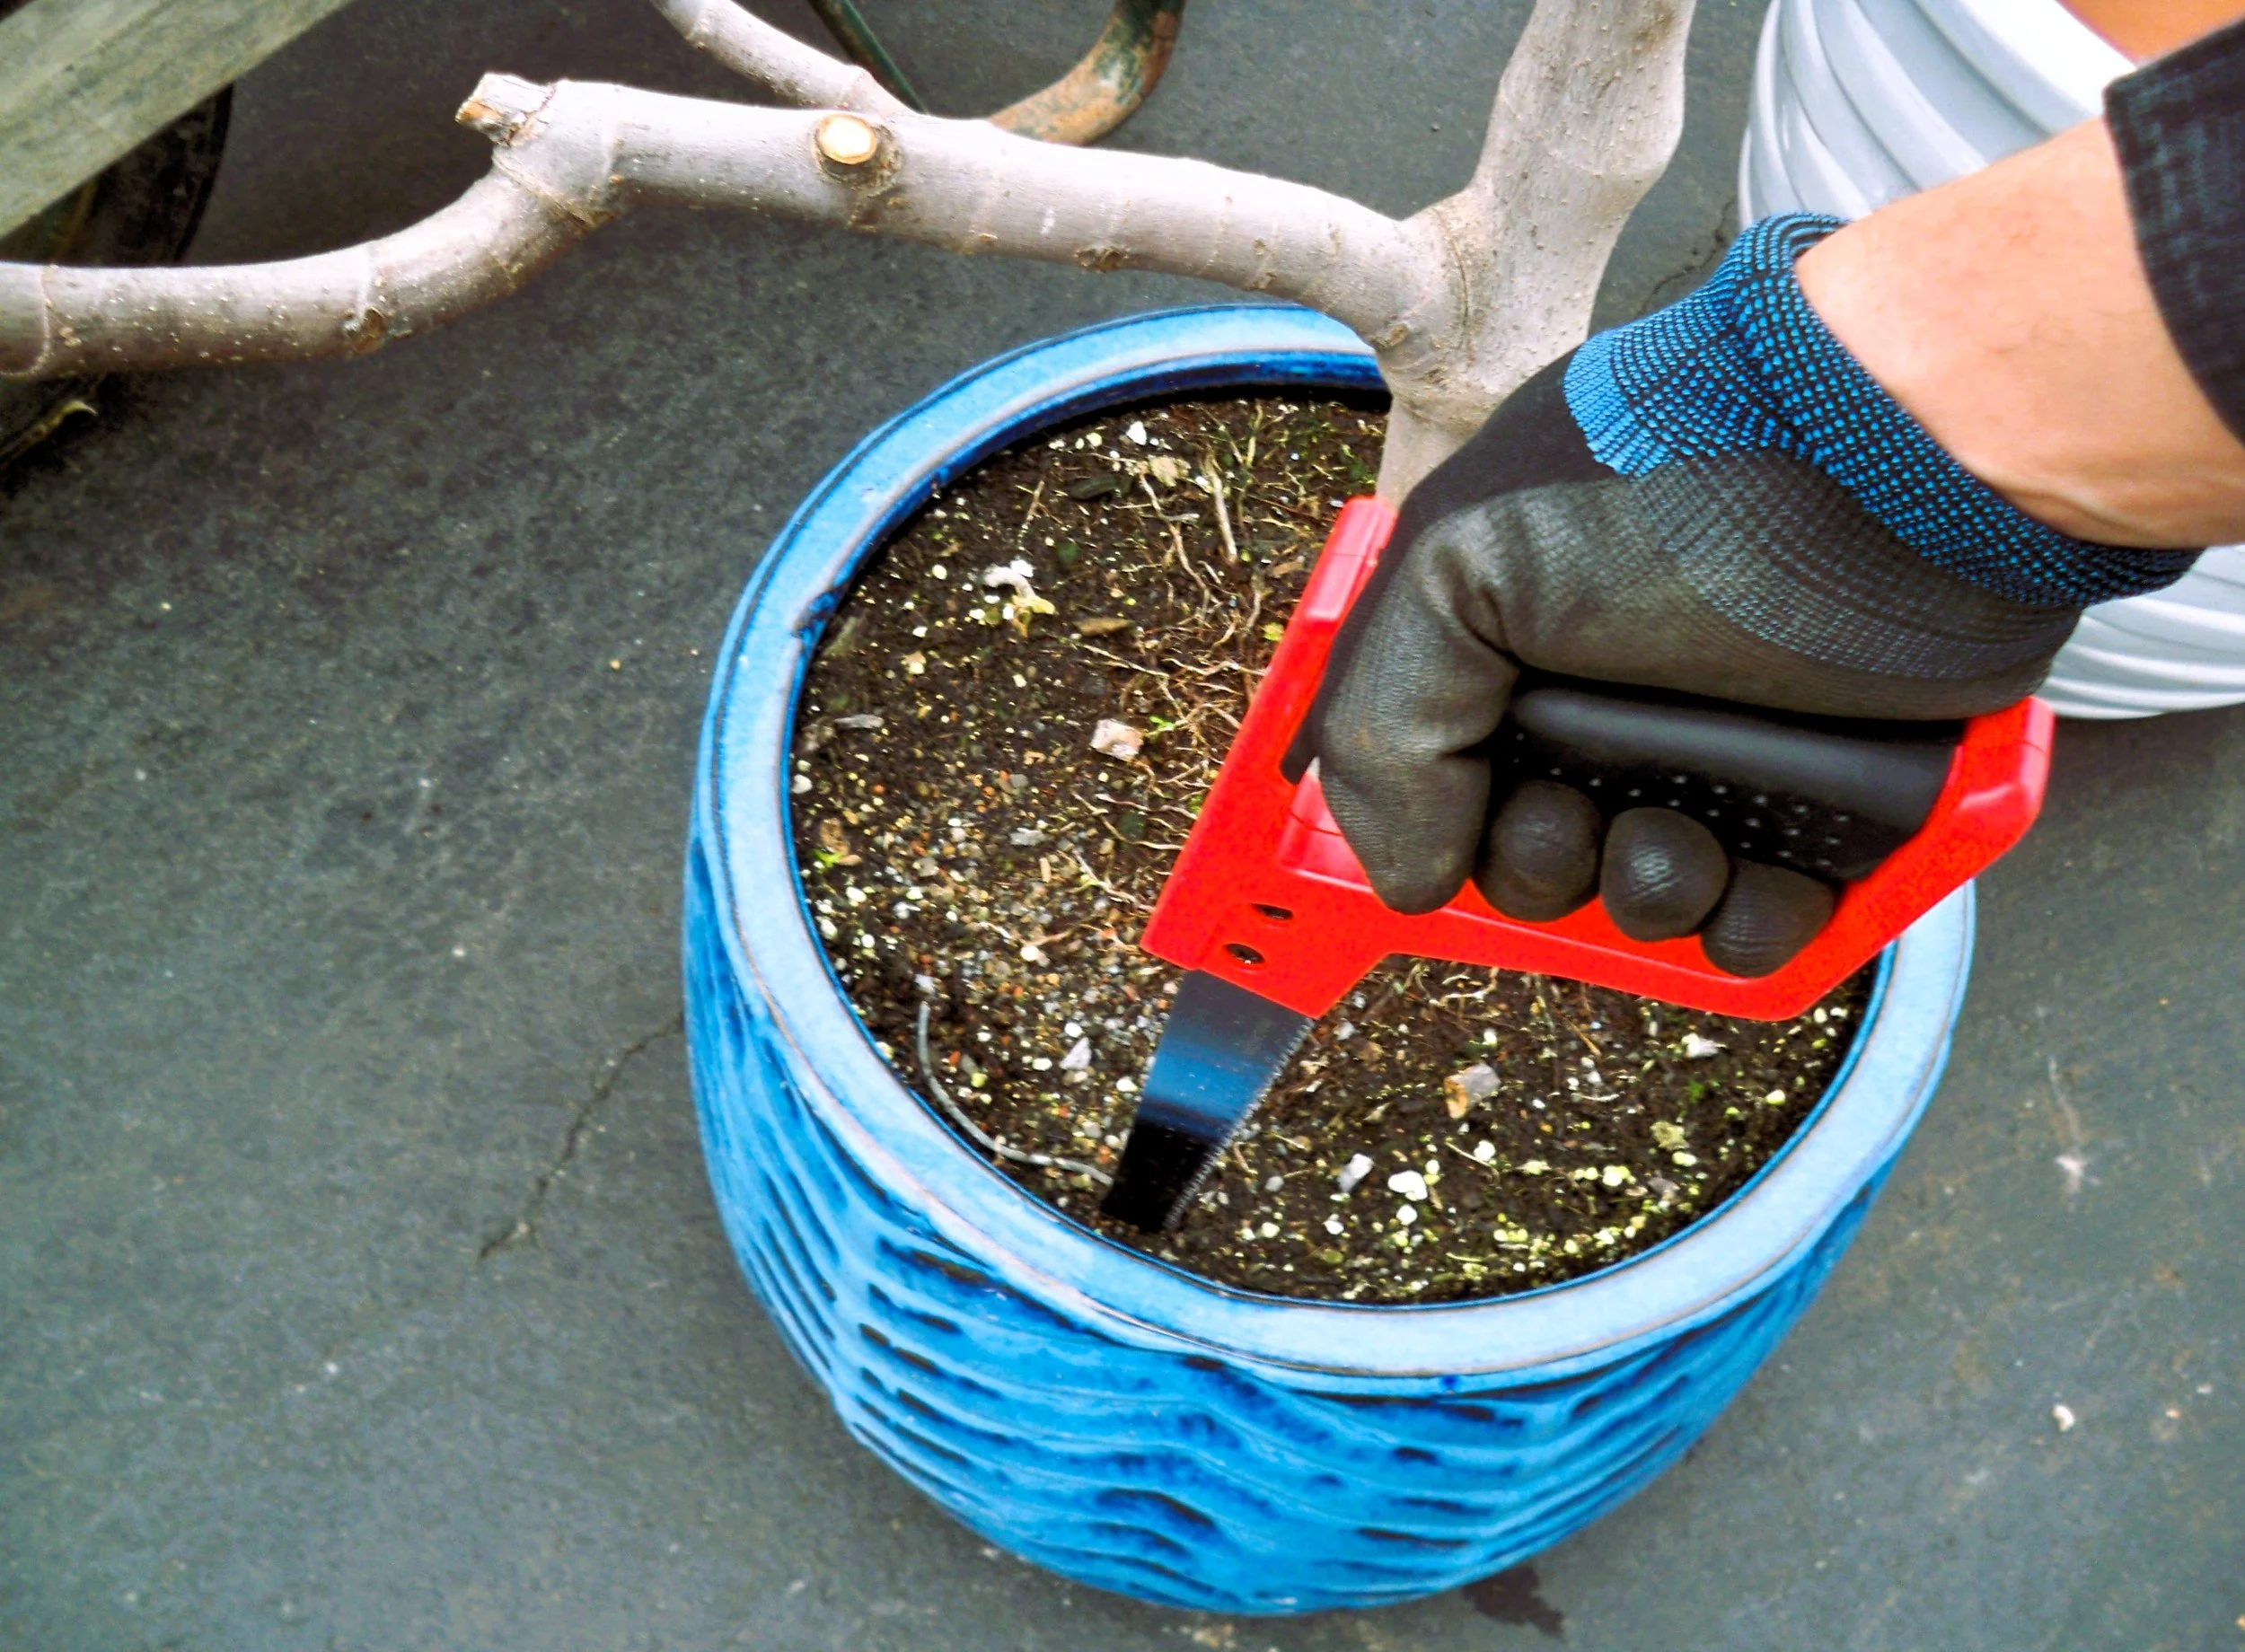
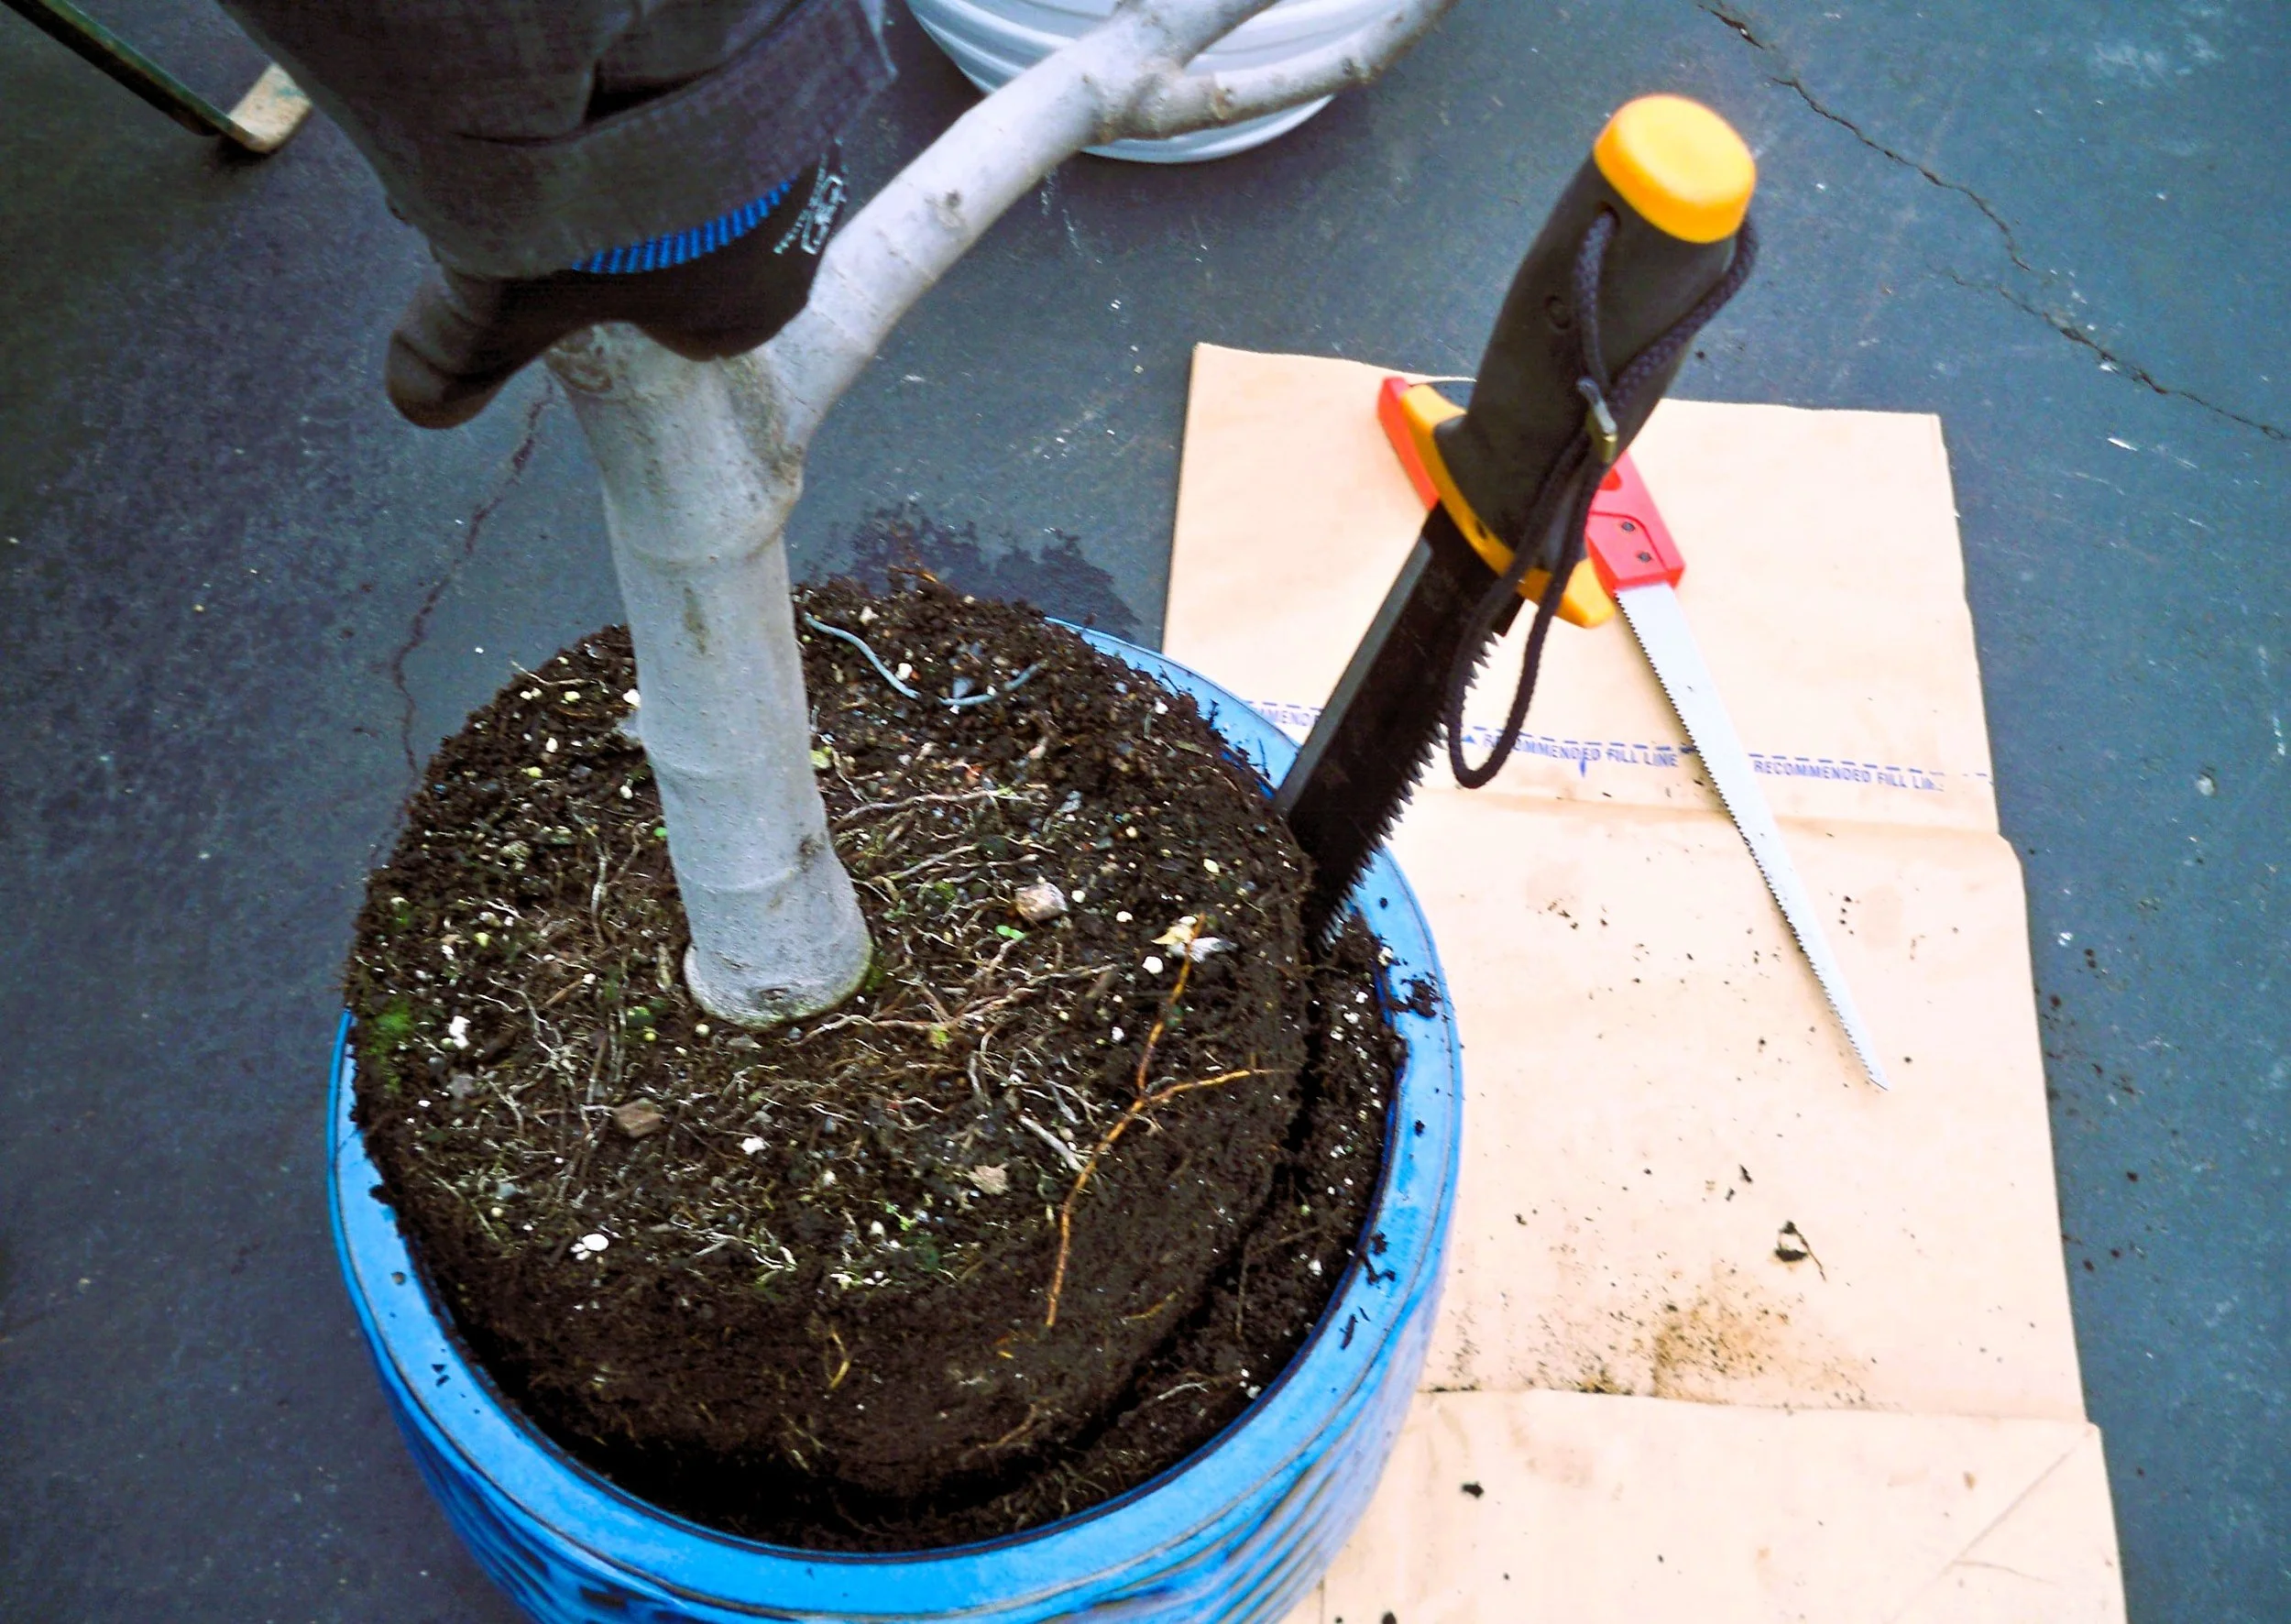
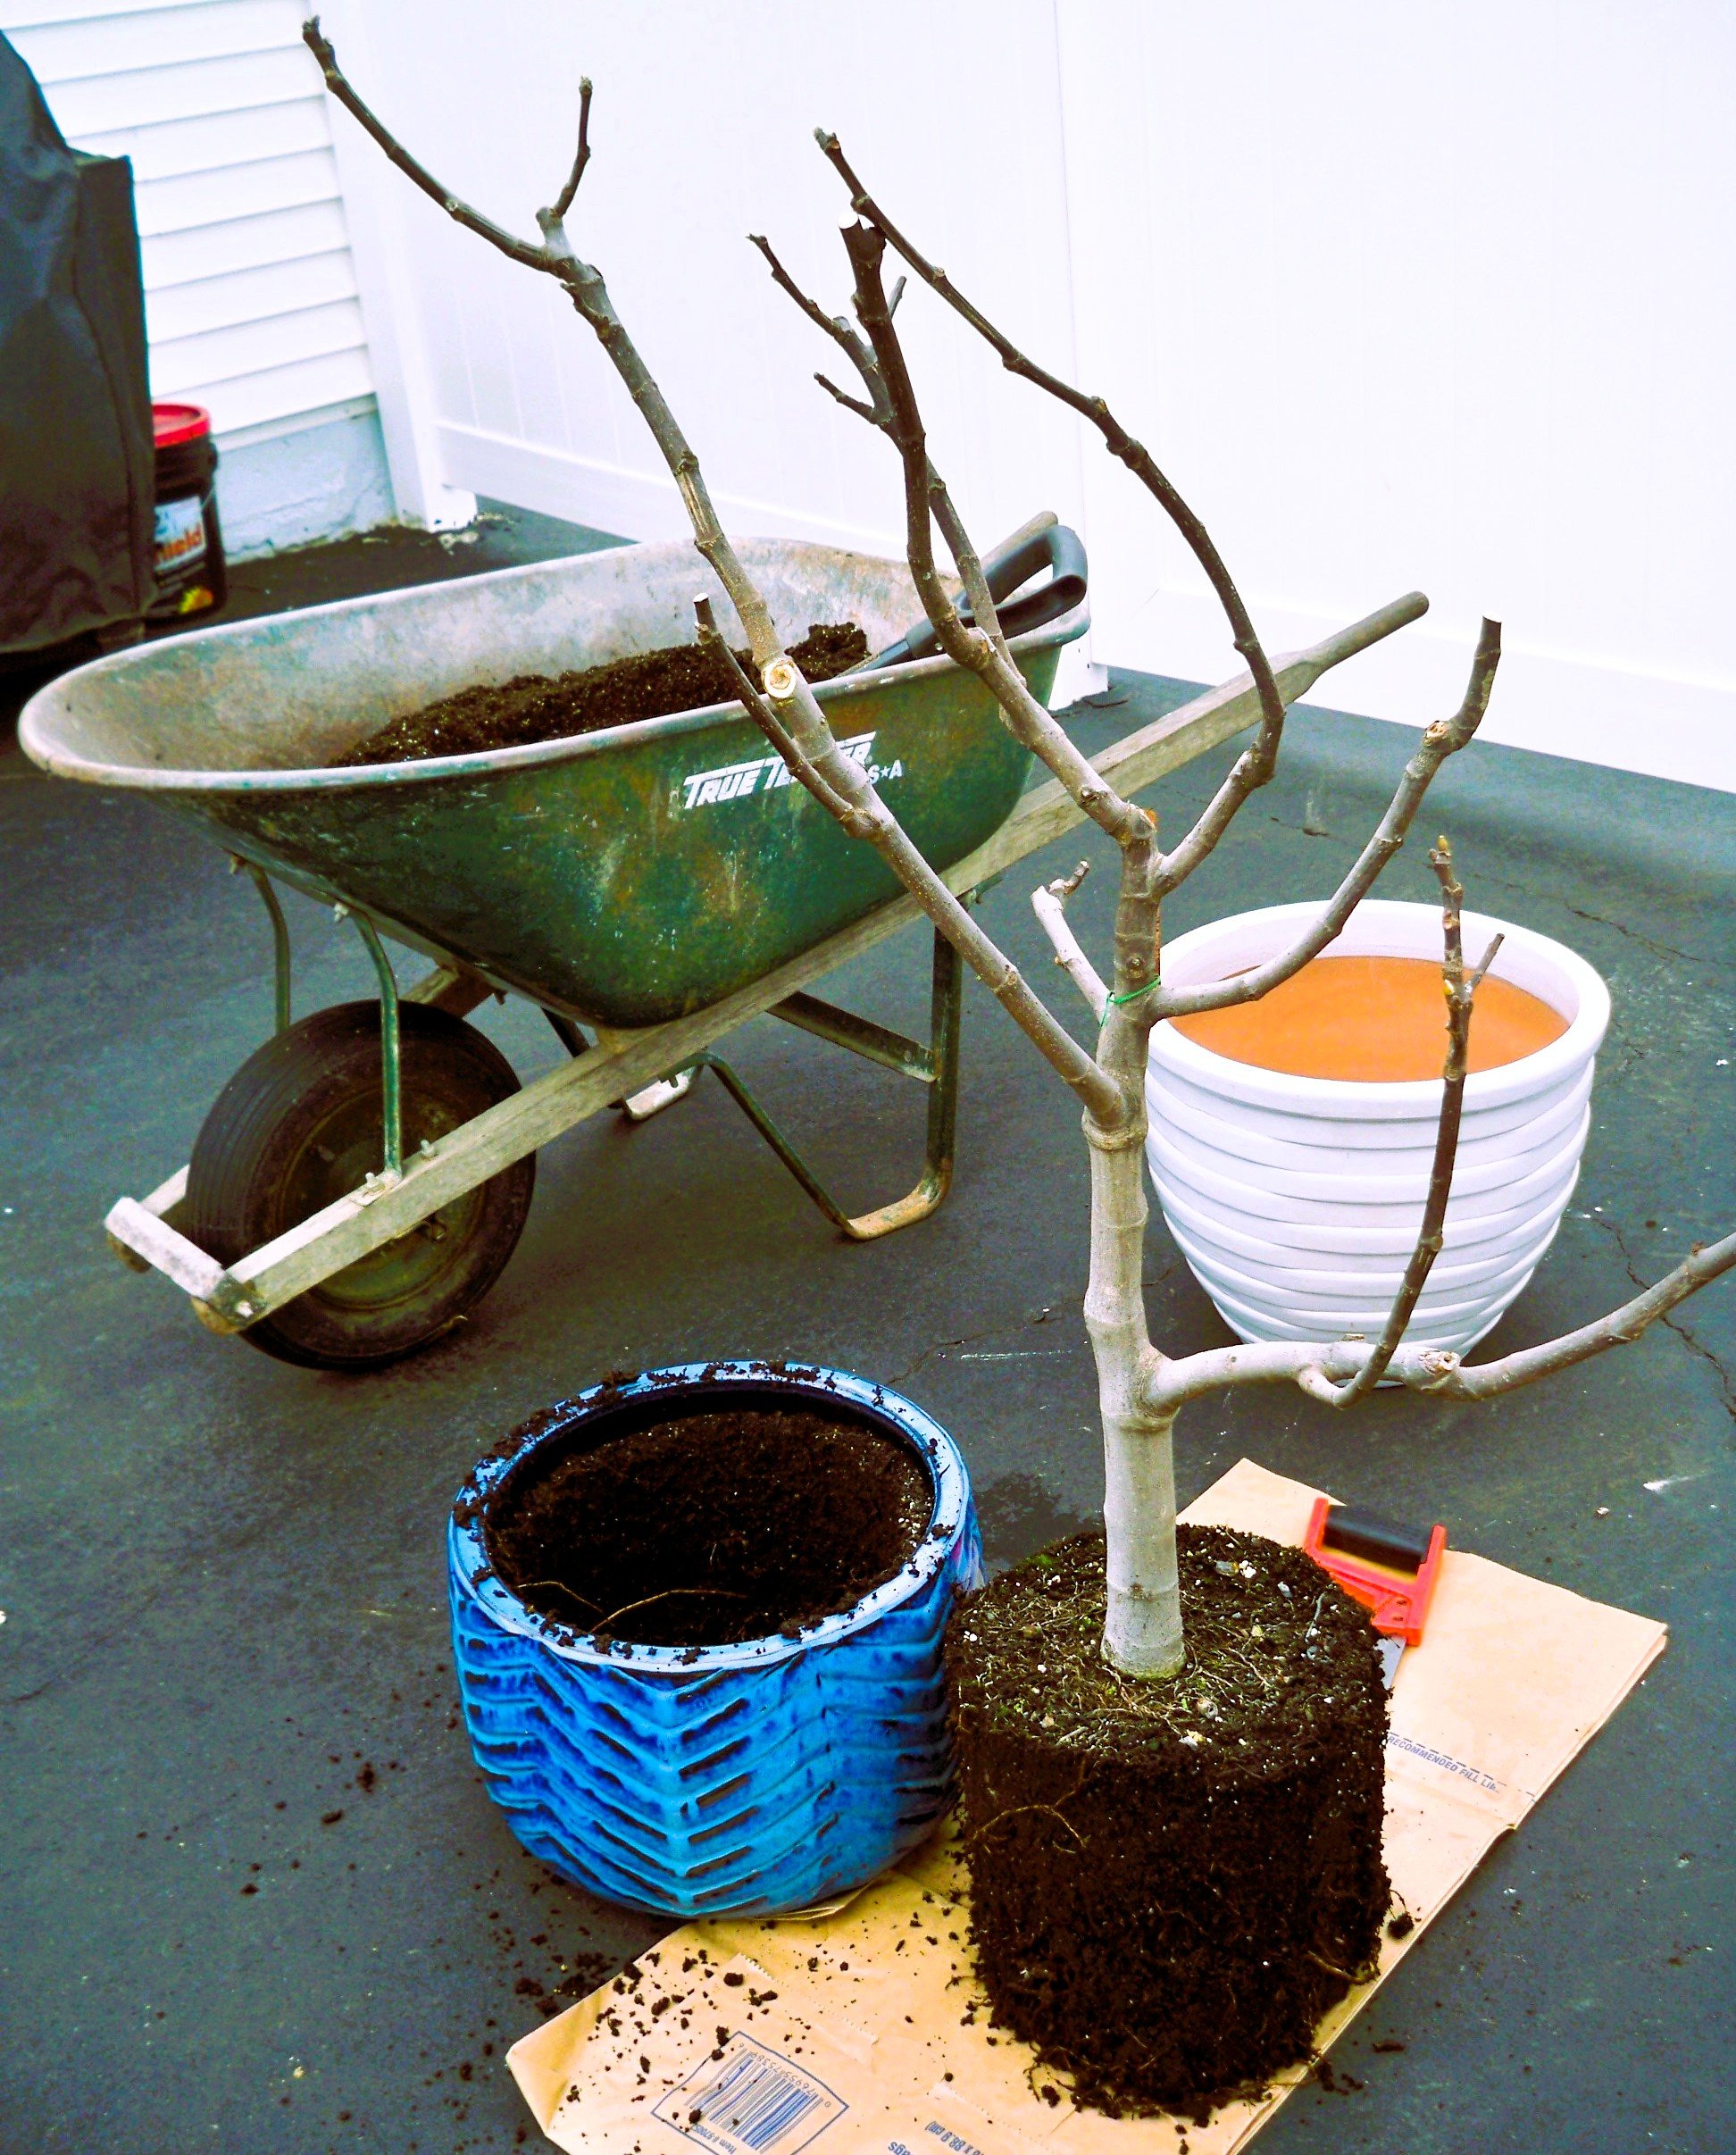
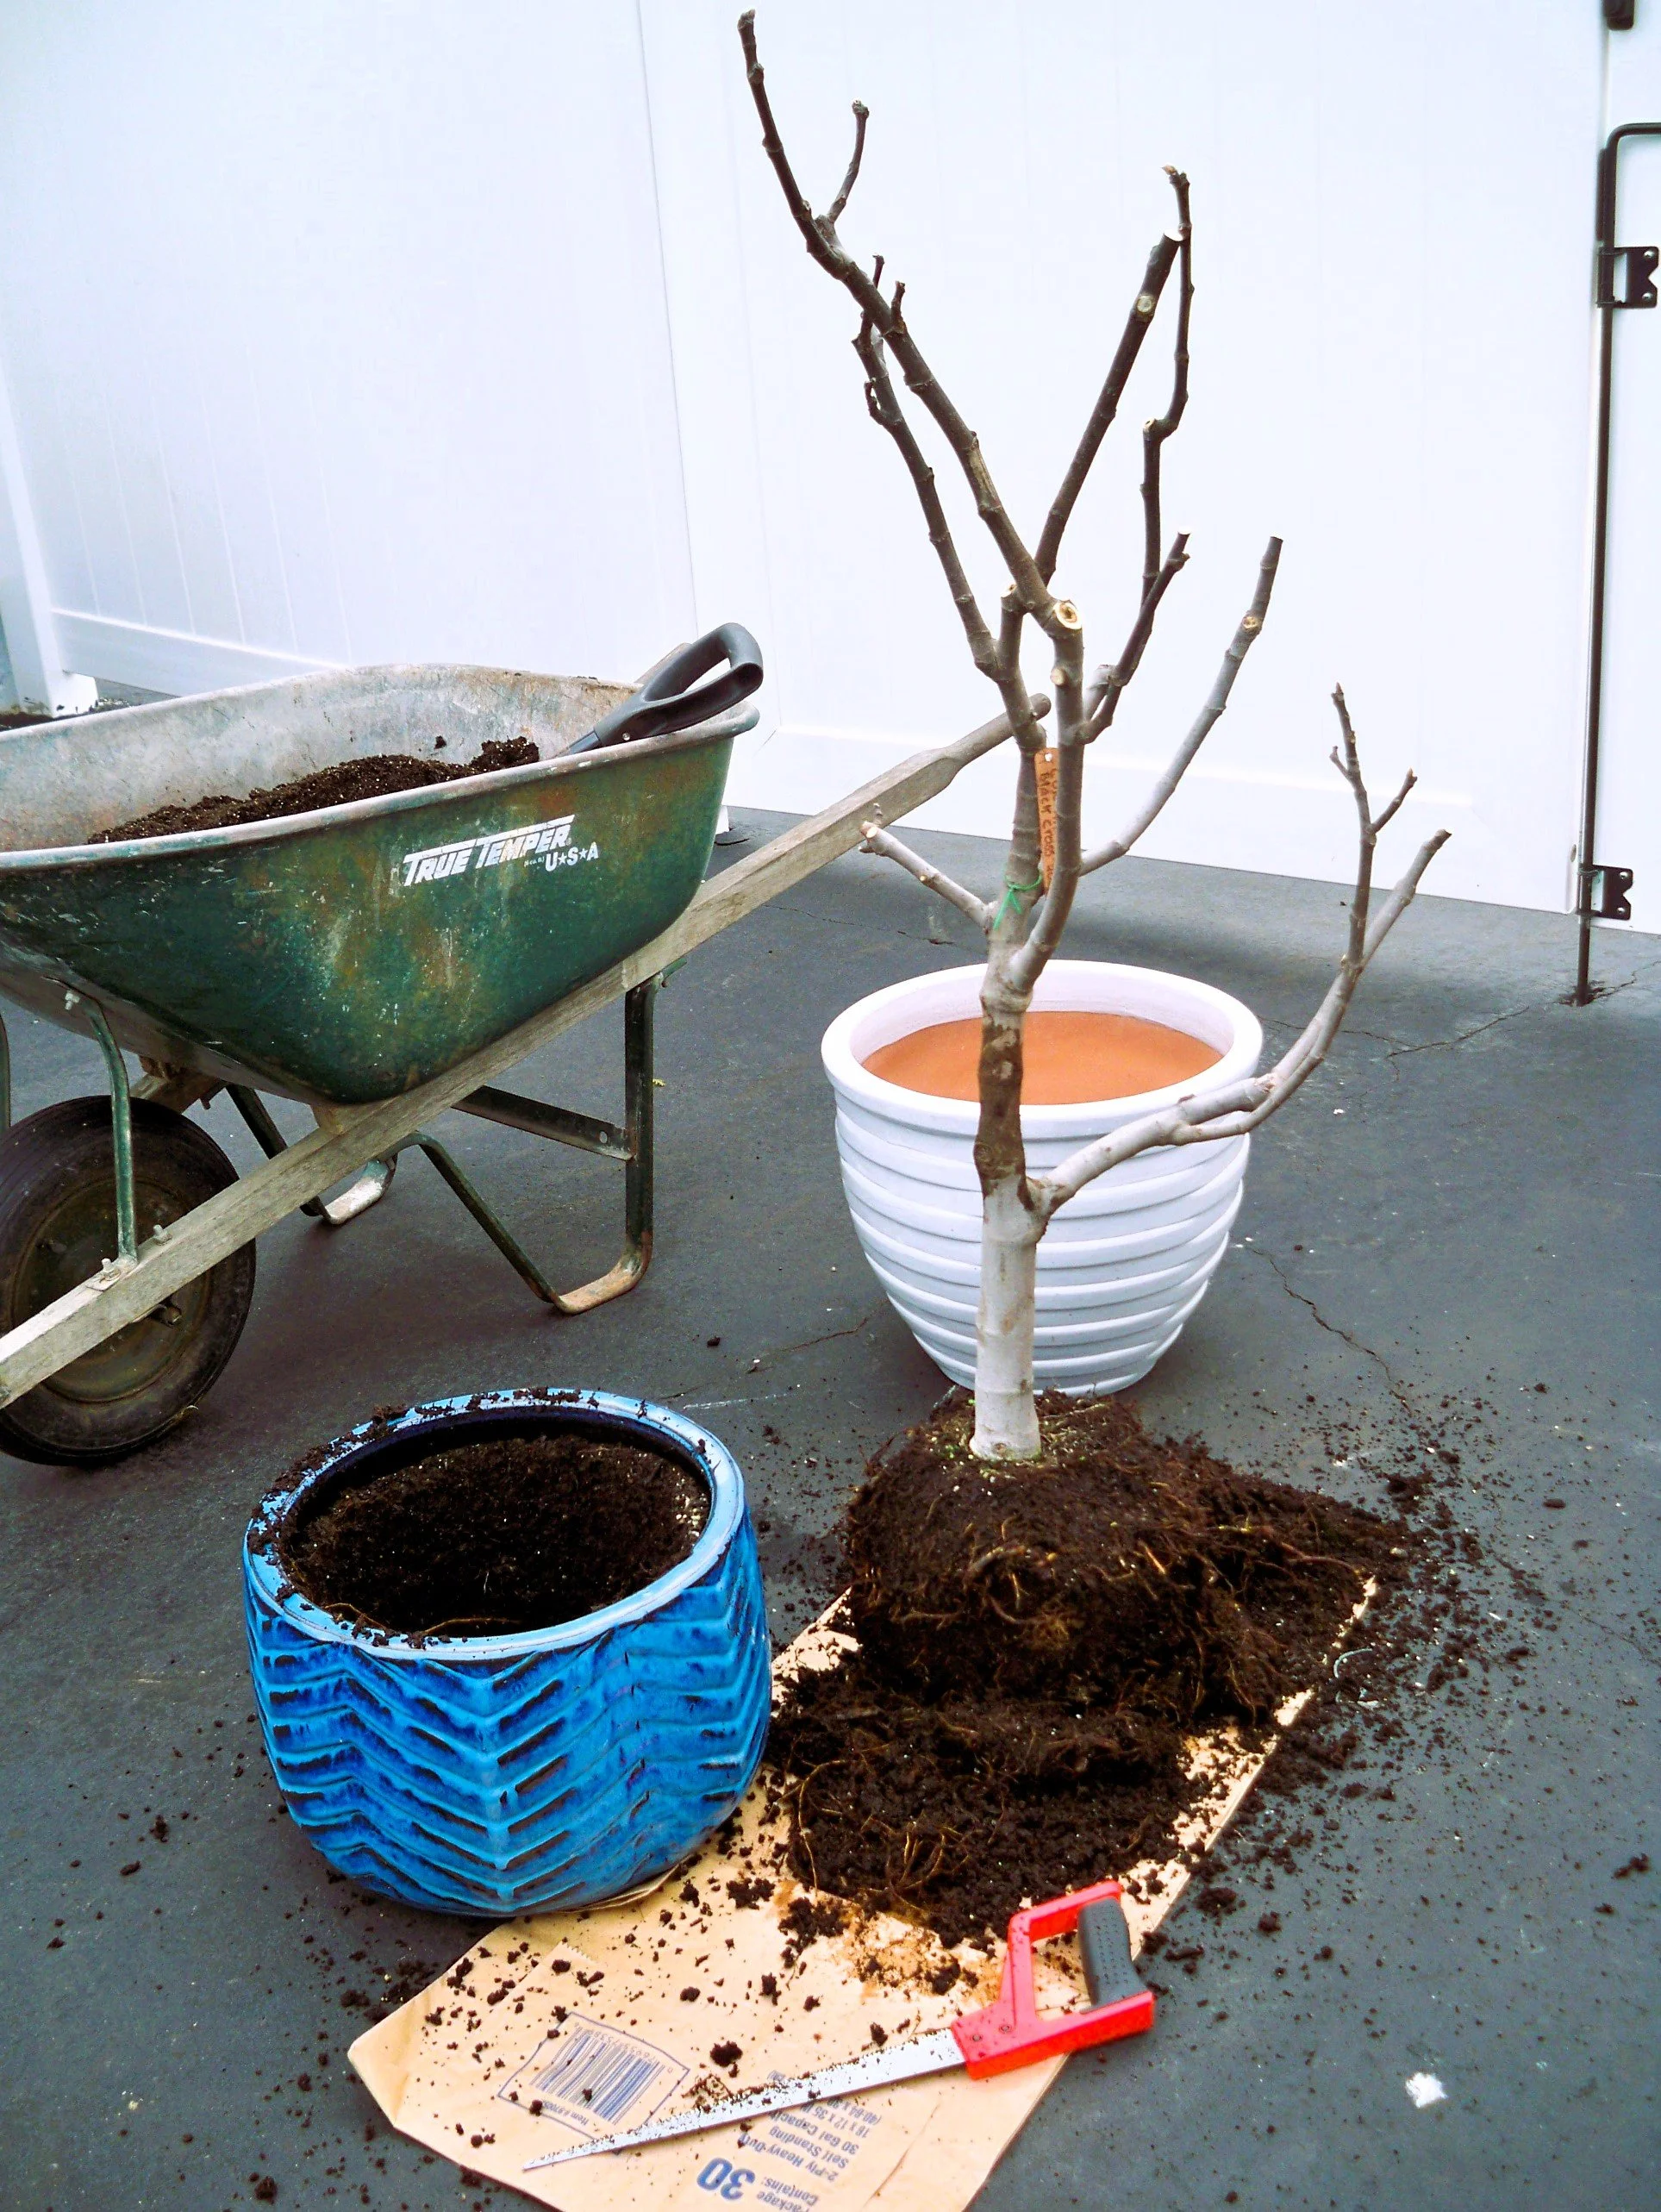
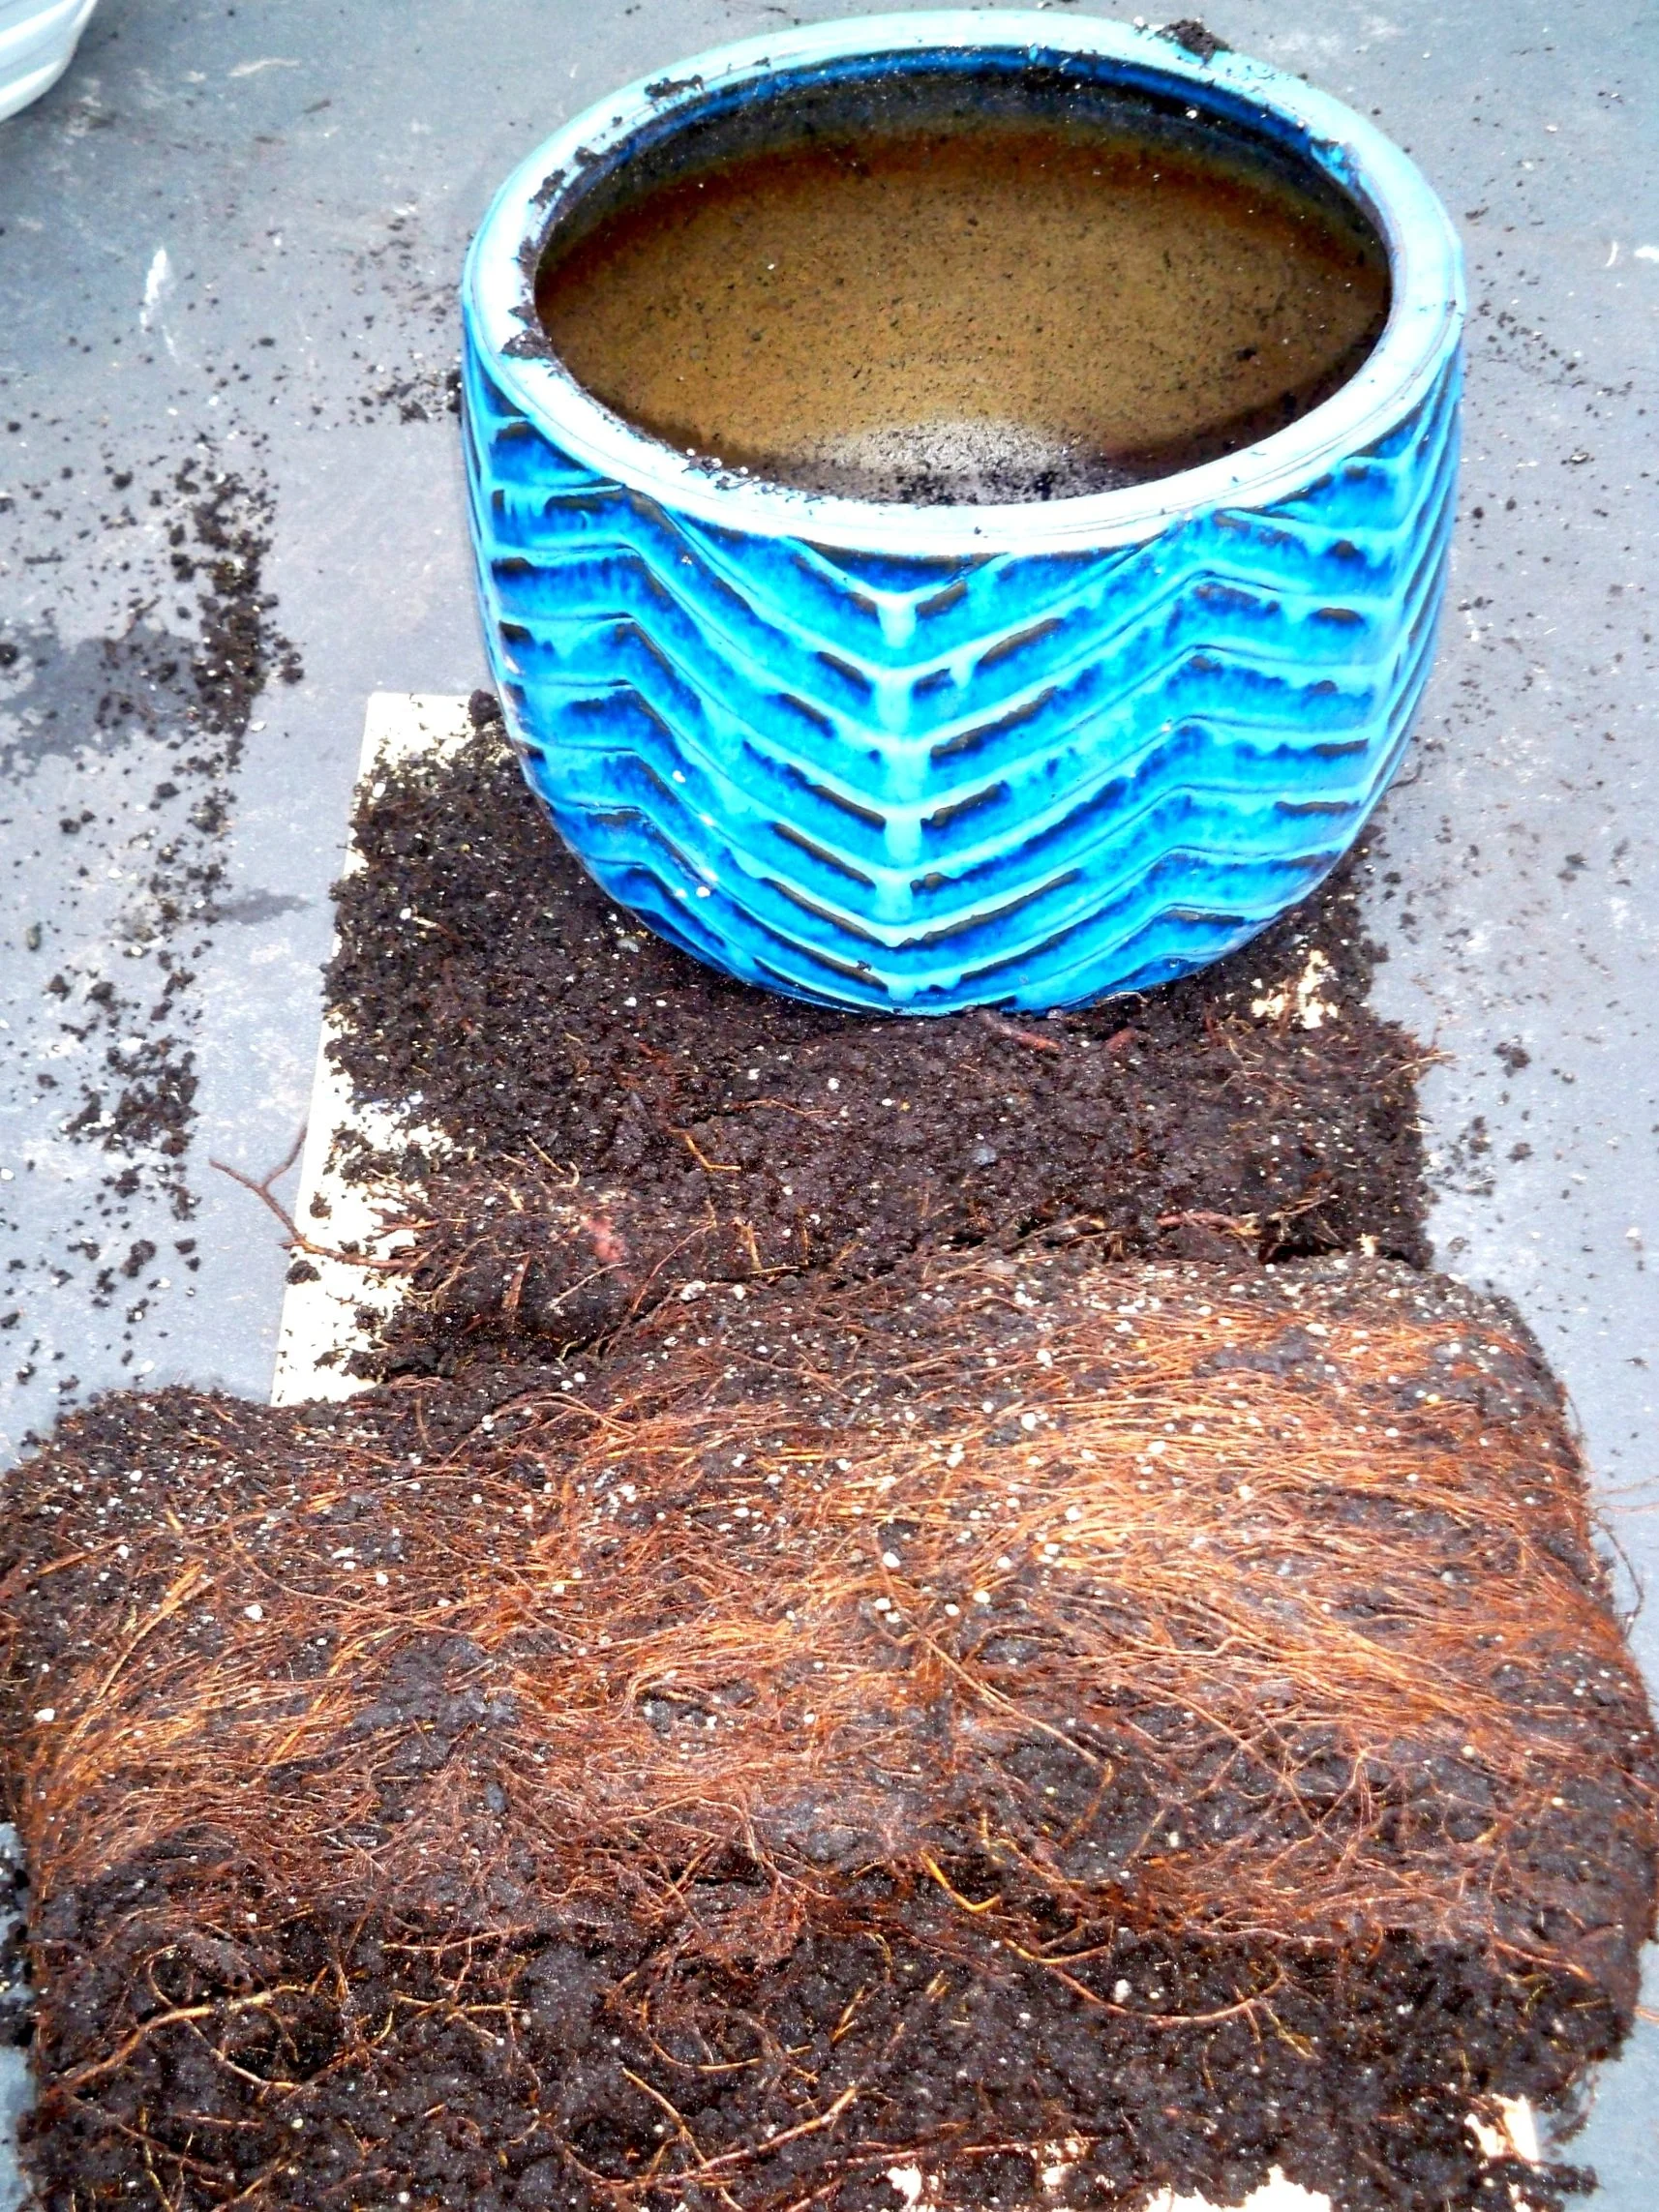
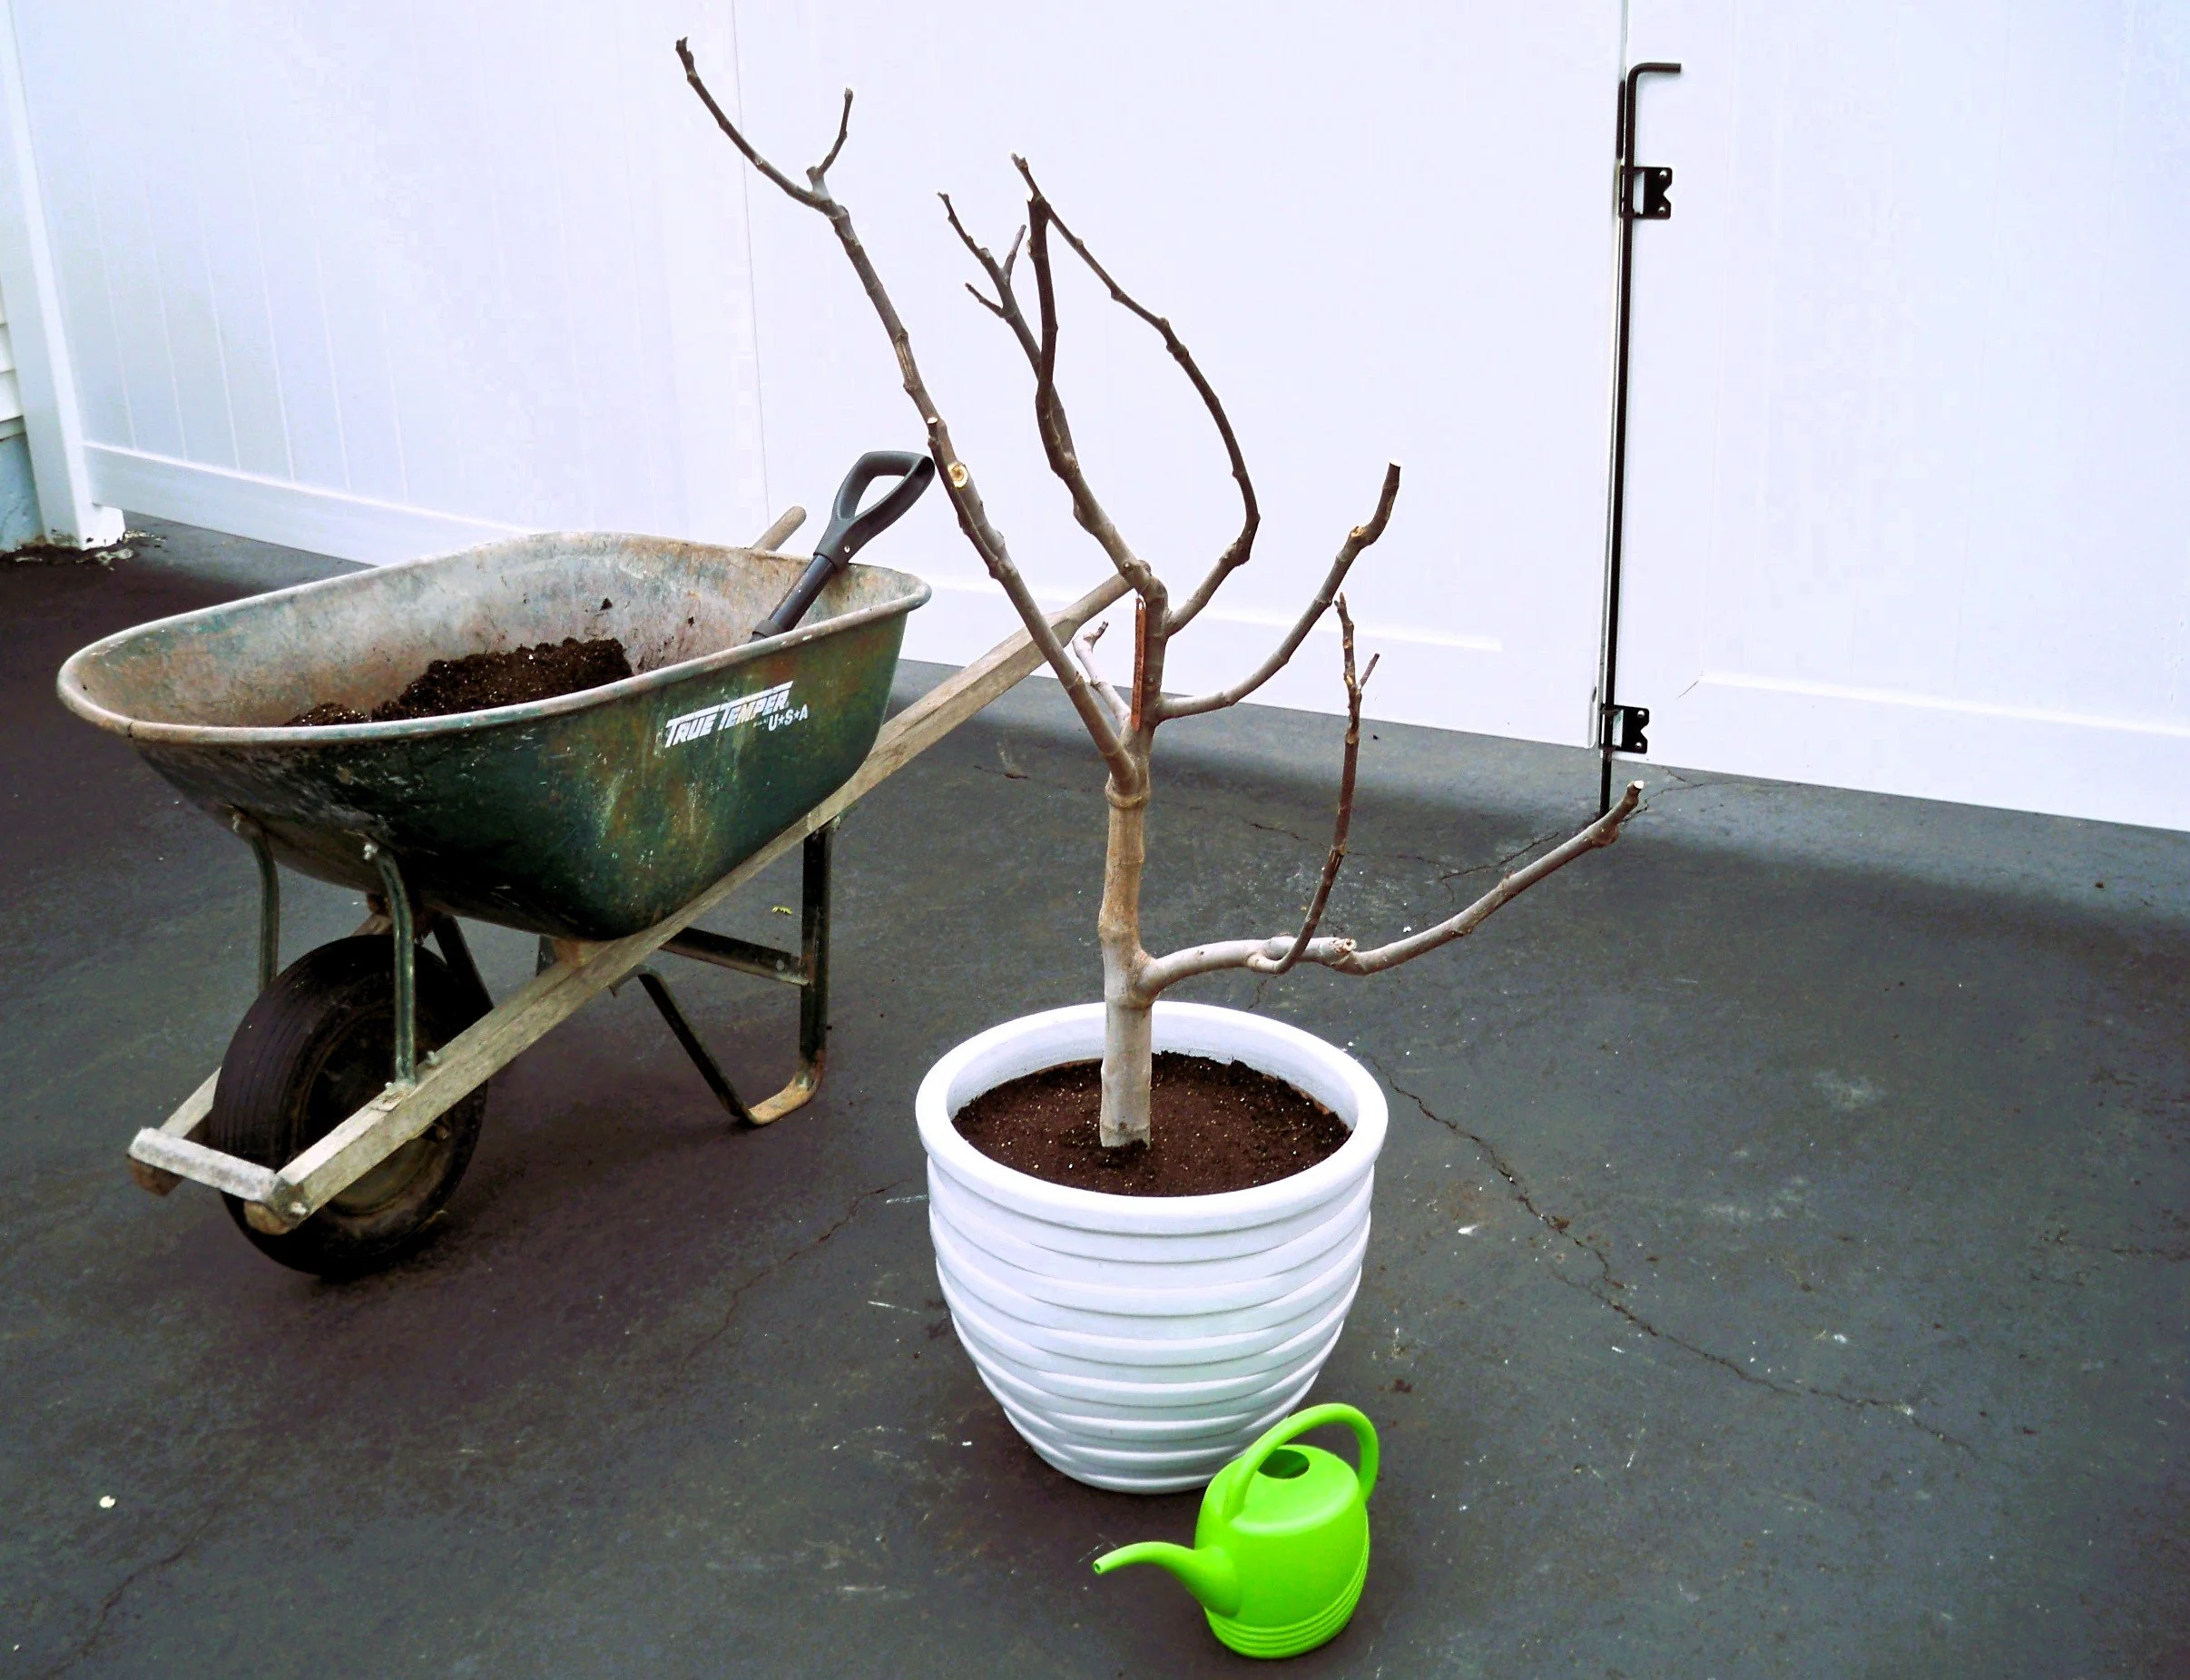
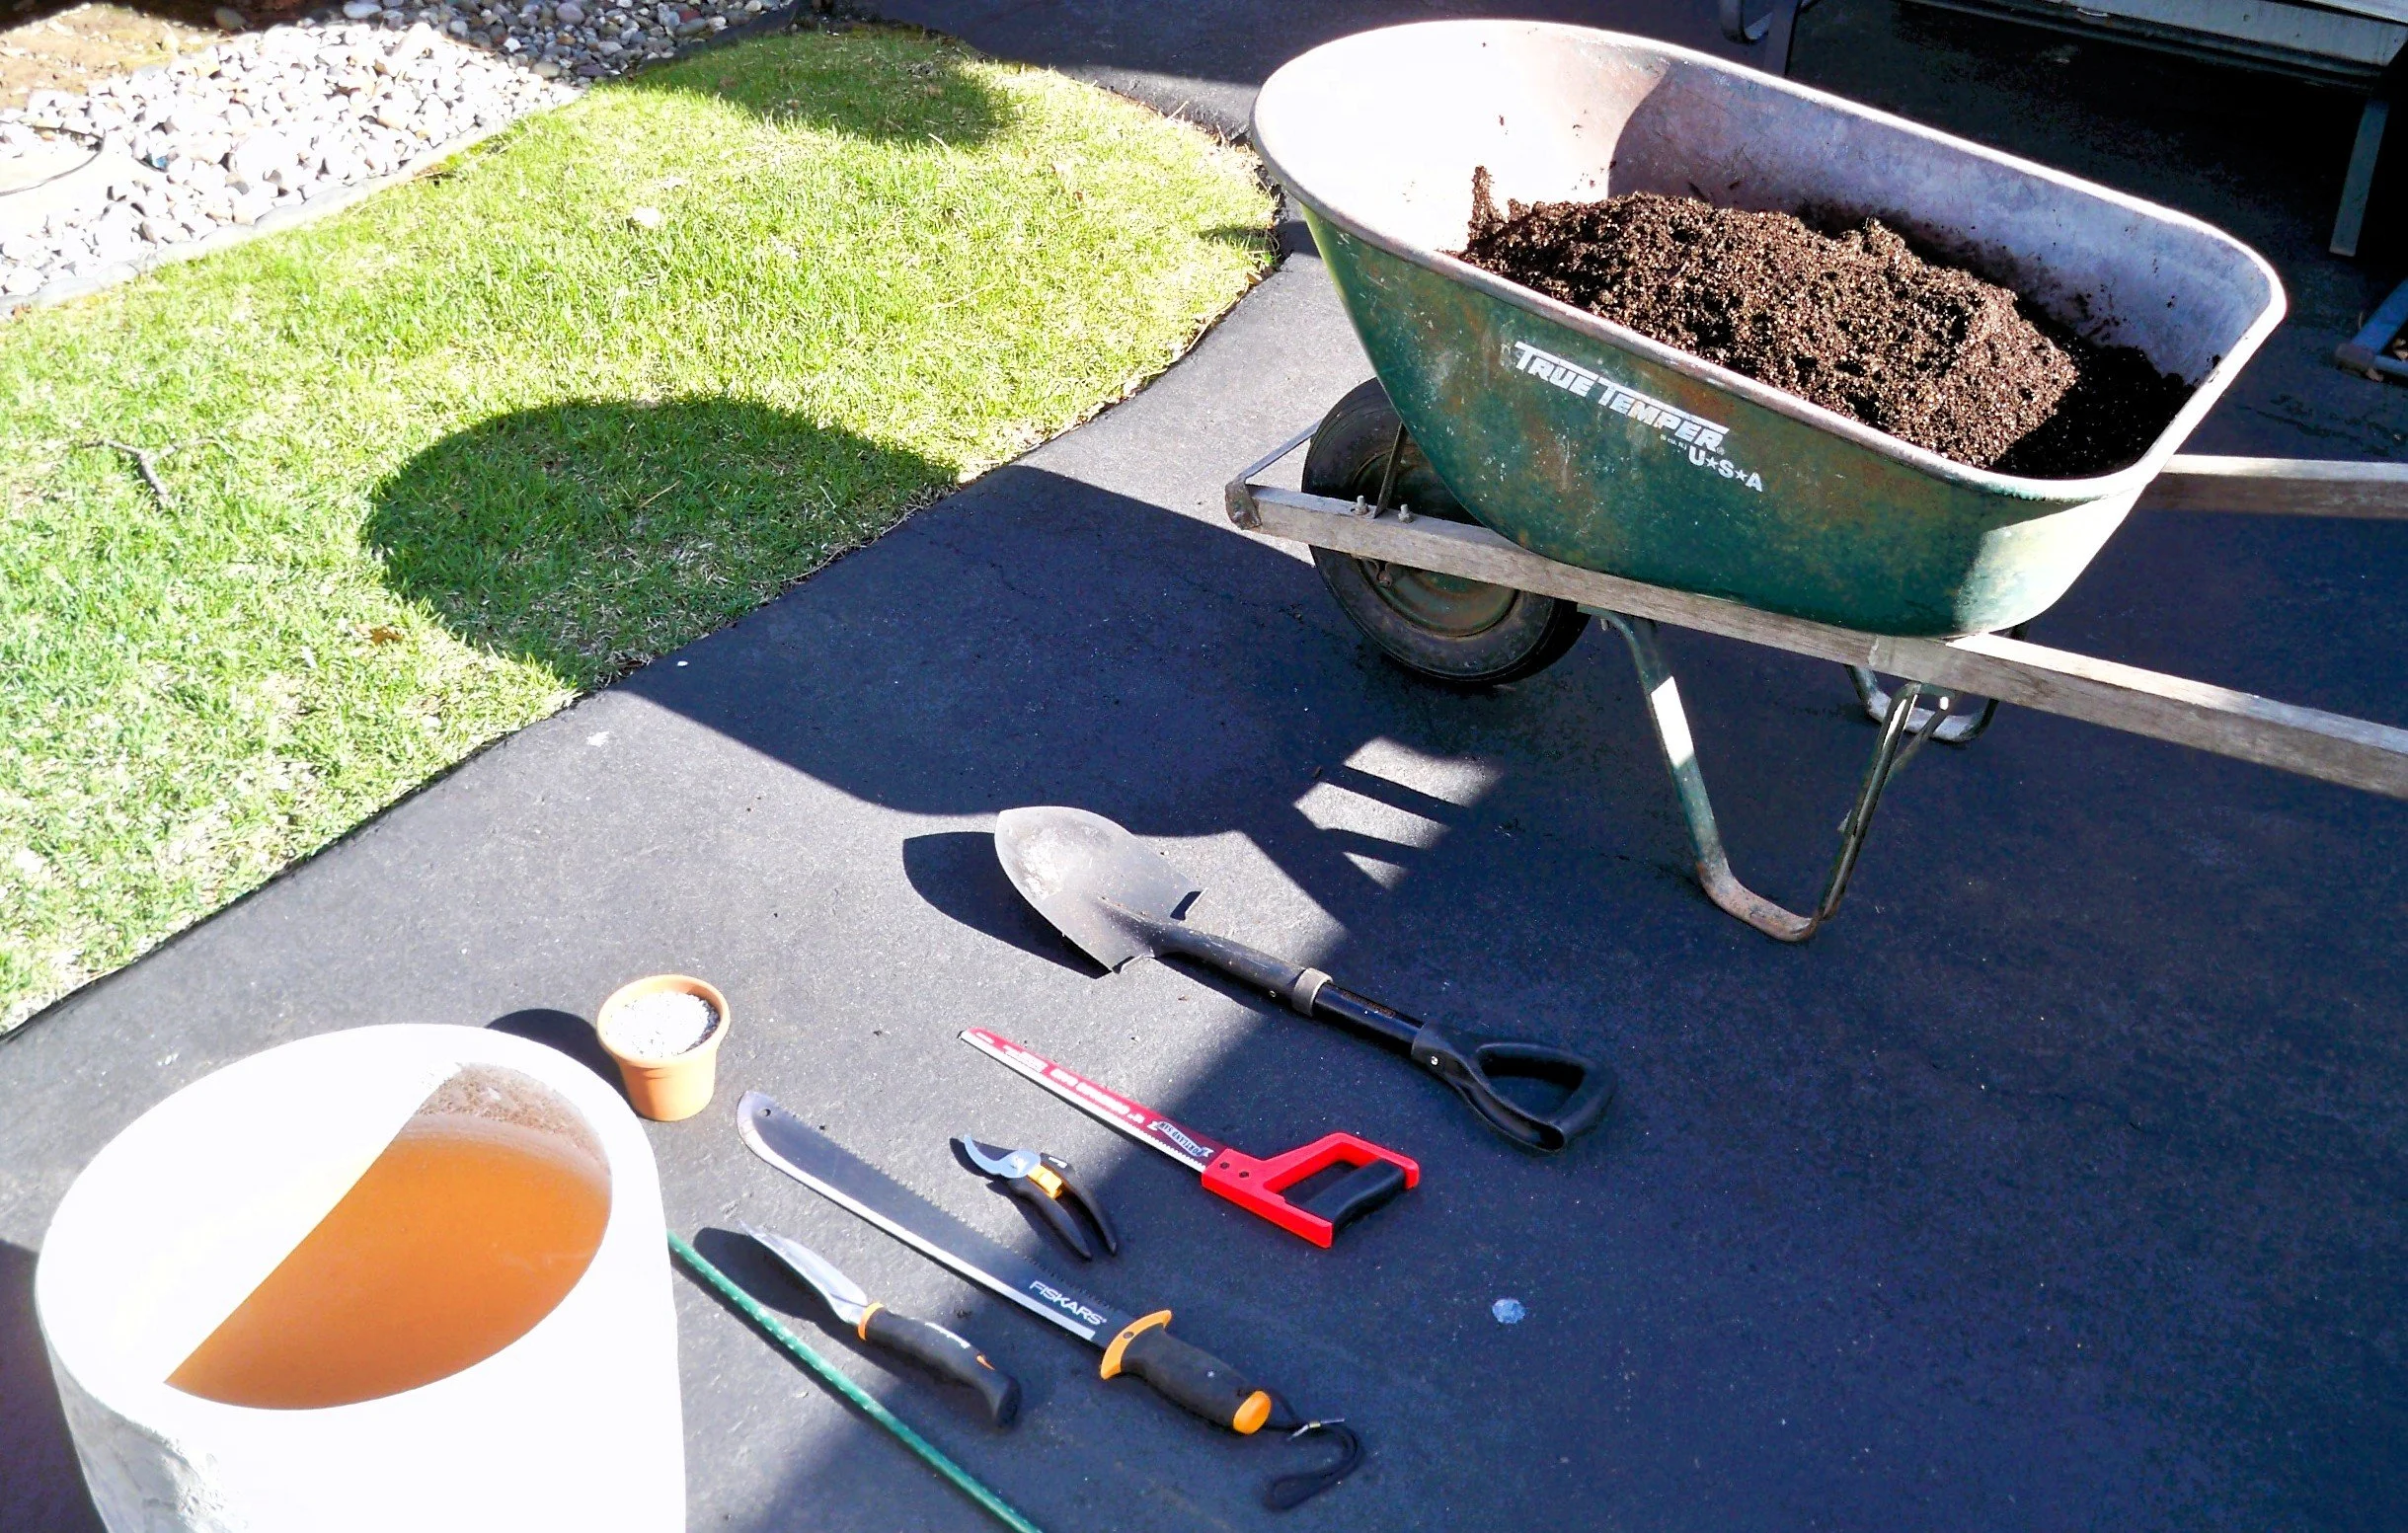
STEP 3-Remove Tree and Prune roots: Once the potting mix is ready and you have made your choice of container the final step is removing your tree from its original container. Trees in plastic containers can be removed with ease. However, trees in terracotta or ceramic pots can present a challenge. The best practice is to use a clean serrated machete, or large hand saw to cut along the inner circumference of the container. Once the tree is freed, loosen the soil around the root bulb. Reduce the root mass by up to one-third if necessary. Place some of the newly prepared potting mix in the new container, insert the tree and orient as needed. Fill the container with soil and gently press to remove any air pockets. Finish by adding water. As a final comment, it is often advised to prune branches when performing any sort of root pruning.